Managing External Libraries
What is an external library
Section titled “What is an external library”An external library is a collection of photos that aren’t managed by immich but can be viewed and edited through it.
Each external library belongs to 1 user and then shows in the timeline for that user.
Creating a external library
Section titled “Creating a external library”So, you first need to mount the external folder into the docker container. This is very implementation specific but for this example the following values are true.
Immich’s files are installed at /opt/immich Immich is installed with a Docker Compose file
Setting up the server
Section titled “Setting up the server”- SSH into the server running immich using the normal approach
- Escalate to root
- Mount the external library in a way of your choice using
/etc/fstab - Change directory to
/opt/immich - Edit docker-compose.yml. Add add a volume mapping, In a stripped down file it will look something like this:
services: immich-server: container_name: immich_server image: ghcr.io/immich-app/immich-server:${IMMICH_VERSION:-release} volumes: - ${UPLOAD_LOCATION}:/data - /etc/localtime:/etc/localtime:ro - /mnt/synology/:/mnt/media:ro # Add new mounts here!!! env_file: - .env ports: - '2283:2283' depends_on: - redis - database restart: always healthcheck: disable: falseAnd a new volume mapping would look like: - <<HOST PATH>>:<<PATH IN CONTAINER>>:ro. To break this down further.
<<HOST PATH>> is the path where the library is mounted to the server
<<PATH IN CONTAINER>> is the path where immich will be able to find it
:ro mounts it as read only so Immich can’t accidently overrite media (for safety)\
- Run
docker compose downand thendocker compose up -d
Setting up Immich
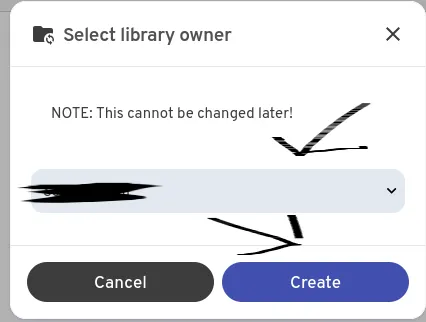
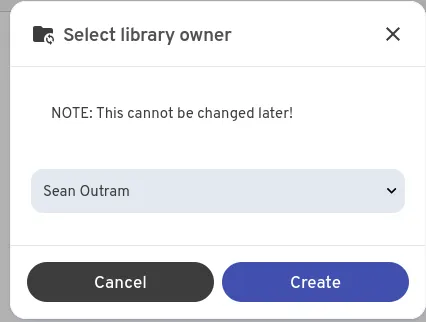
Section titled “Setting up Immich”Now we need to tell immich to scan for the libary and import it. You will need to be an admin for this
- Visit
https://<IMMICH SERVER URL>/admin/library-management - Click “Create Library”
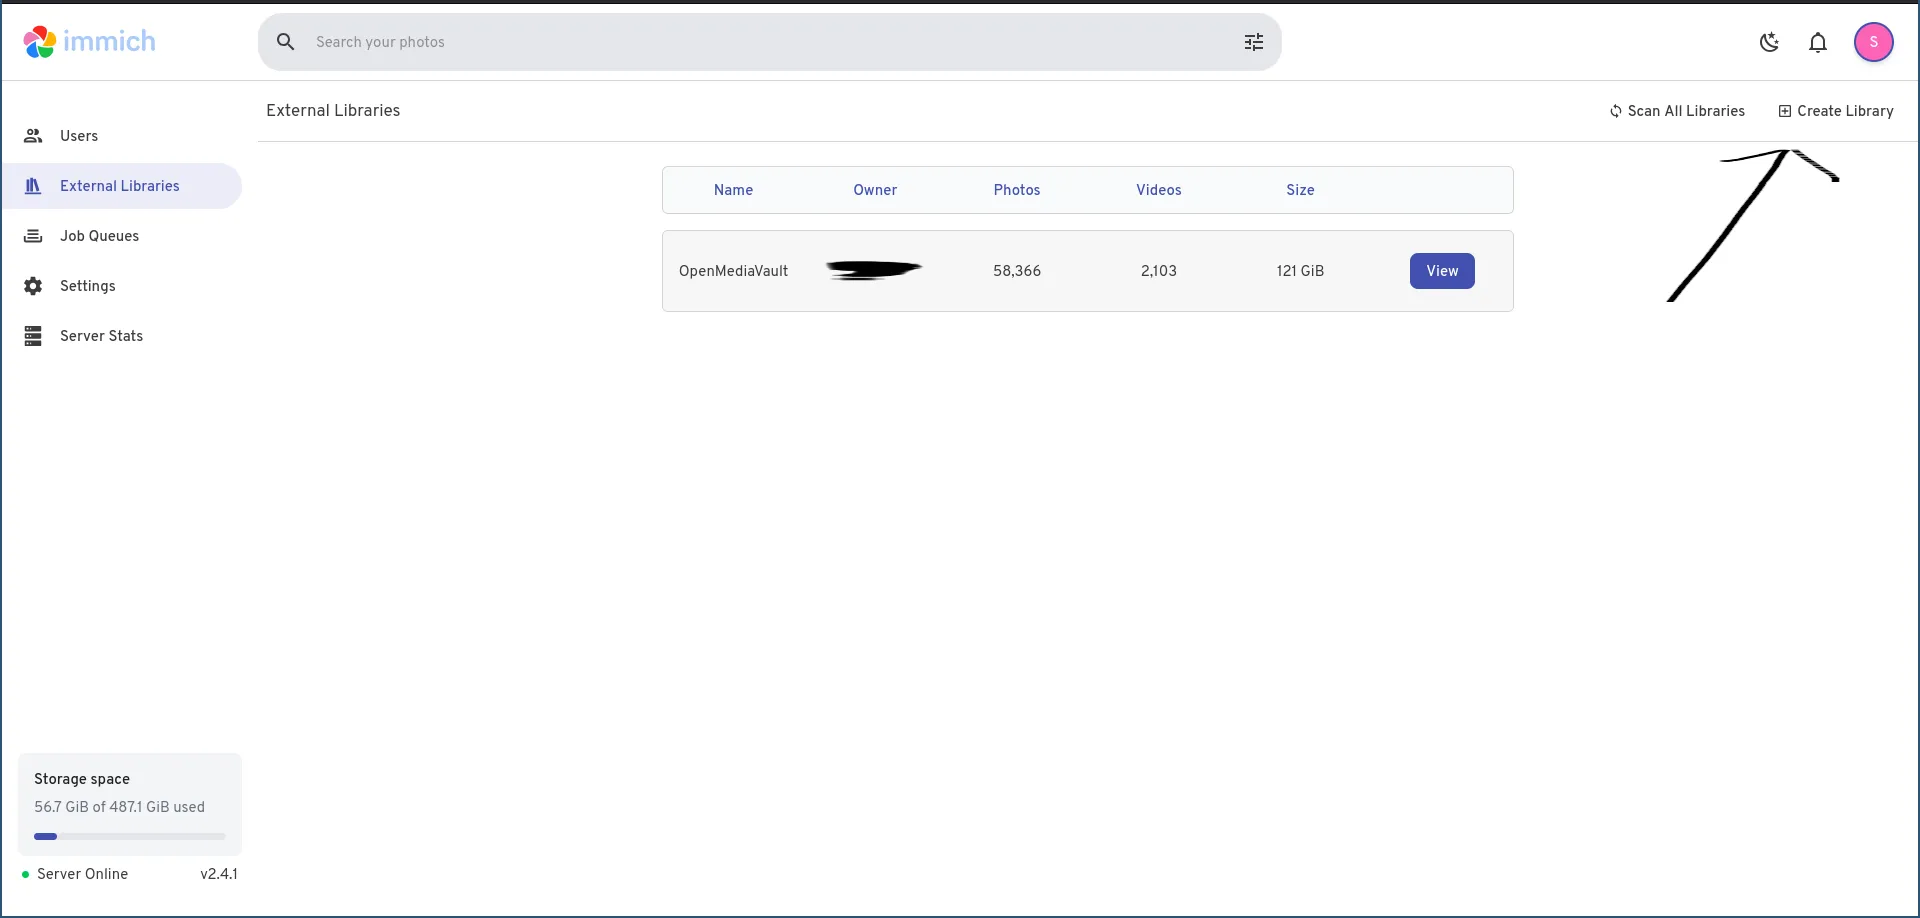
- Choose the user based on their name from the dropdown
- Click create
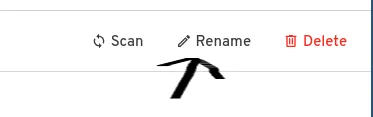
- Press “Rename” and give it a description
- Press the Add folder button
- Enter the full absolute path (in the case of the file mount example above it is
/mnt/media/Photo/2.PHOTO) IT IS CASE SENSITIVE - Press Add
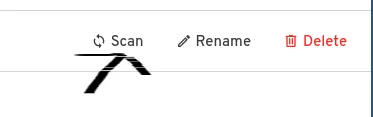
- Press the Scan button
- Wait! It may take a while to generate metadata and thumbnails depending on the size of the library.
Adding a folder to an external library
Section titled “Adding a folder to an external library”- Visit
https://<IMMICH SERVER URL>/admin/library-management - Click on the library you want to edit
- Click on the Add button next to the folders
- Follow the same steps as above from step 7